Adorable Polar Bear Cookies Recipe
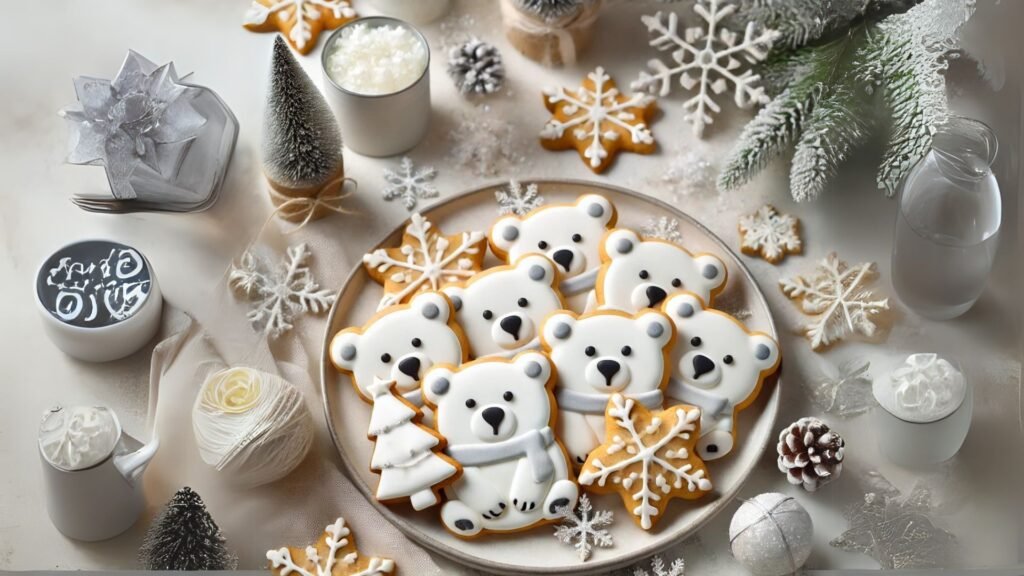
Create the cutest winter treats with these Polar Bear cookies! They’re perfect for festive occasions, winter parties, or just a fun baking day at home. Soft sugar cookies paired with simple white icing and tiny details make these treats almost too adorable to eat.
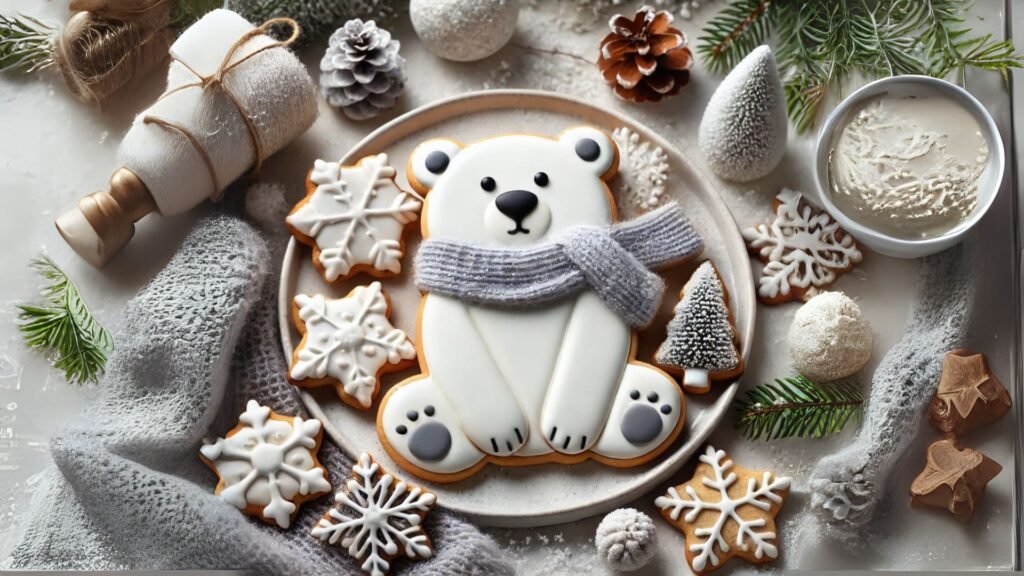
Your Polar Bear cookies can look just as cute as these winter-inspired treats.
Recipe Overview
- Prep Time: 20 minutes
- Chill Time: 1 hour
- Cook Time: 10–12 minutes
- Decorating Time: 30–40 minutes
- Total Time: ~2 hours
- Yields: 12–16 cookies (depending on cookie size)
Ingredients
For the Sugar Cookies:
- 2 ¾ cups all-purpose flour
- 1 teaspoon baking powder
- ½ teaspoon salt
- 1 cup (2 sticks) unsalted butter, softened
- 1 cup granulated sugar
- 1 large egg
- 2 teaspoons vanilla extract
For the Icing and Decoration:
- 3 cups powdered sugar
- 3–4 tablespoons milk (adjust for consistency)
- 1 teaspoon vanilla extract
- Black fondant (for the eyes and nose)
- Food-safe edible glue or royal icing (to secure decorations)
- Gray food coloring gel (for shading details like scarves)
Optional: White sprinkles or edible glitter for the snowy effect.
Instructions
Step 1: Make the Sugar Cookie Dough
- In a medium bowl, whisk together the flour, baking powder, and salt.
- In a large bowl, cream the butter and sugar using an electric mixer until light and fluffy (about 2–3 minutes).
- Beat in the egg and vanilla extract until well combined.
- Gradually add the dry ingredients to the wet ingredients, mixing until a dough forms.
- Divide the dough into two equal portions. Flatten into disks, wrap in plastic wrap, and chill in the refrigerator for 1 hour.
Step 2: Bake the Cookies
- Preheat your oven to 350°F (175°C) and line two baking sheets with parchment paper.
- Roll out one disk of dough on a lightly floured surface to about ¼-inch thickness.
- Use a polar bear cookie cutter to cut shapes. Transfer the cookies carefully to the prepared baking sheets.
- Bake for 10–12 minutes or until the edges are lightly golden.
- Let the cookies cool on the baking sheet for 5 minutes, then transfer to a wire rack to cool completely.
Step 3: Prepare the Icing
- In a medium bowl, mix powdered sugar, milk, and vanilla extract until smooth. Adjust the consistency by adding more milk (for thinner icing) or powdered sugar (for thicker icing).
- Reserve a small portion of icing and tint it light gray using food gel coloring.
Step 4: Decorate Your Polar Bears
- Using a piping bag or spoon, spread white icing evenly over each cookie, covering the polar bear’s face and body. Let it set for 15–20 minutes.
- Roll small pieces of black fondant into balls for eyes and a nose, and gently press them into the icing. Use edible glue or a tiny amount of icing to secure them.
- Pipe a thin scarf using the gray-tinted icing around the neck area for a cozy winter touch.
- Optional: Add white sprinkles or edible glitter for a snowy effect.
Step 5: Serve and Enjoy!
Allow the icing to fully dry (about 1 hour) before serving or storing the cookies. These treats are as fun to display as they are to eat!
Storage Tips
- Store in an airtight container at room temperature for up to 5 days.
- For longer storage, freeze the cookies (without icing) for up to 3 months. Thaw and decorate as desired.
Why You’ll Love These Polar Bear Cookies
Not only are these cookies delicious, but they’re also a show-stopper on any dessert table. Whether you’re gifting them to friends or serving at a holiday party, these cute polar bears are sure to bring smiles.
Happy Baking! 🐾